Is your business leveraging the power of the Internet of Things (IoT), but struggling to keep tabs on your scattered devices? Securing and efficiently managing your IoT infrastructure from a distance is no longer a luxury, but a necessity for businesses aiming for operational excellence and data security.
The proliferation of IoT devices across industries has created unprecedented opportunities, yet it has also introduced complex challenges in device management and security. From smart home appliances to industrial sensors and sophisticated enterprise systems, the need for a reliable and secure remote monitoring solution is more crucial than ever. This article will explore a powerful solution: leveraging Secure Shell (SSH) for remote IoT monitoring. Well dissect the "how," "why," and "what" of implementing SSH for your Raspberry Pi and other IoT devices, ensuring you have the tools and knowledge to succeed.
At the heart of effective IoT management lies the ability to monitor, control, and troubleshoot devices regardless of their physical location. This is where remote monitoring comes into play, offering a lifeline for businesses and individuals navigating the complexities of the IoT landscape. Remote IoT monitoring essentially involves the use of software and hardware systems designed to observe and manage internet of things devices from a distance. It allows for real-time data collection, analysis, and visualization, enabling informed decision-making and proactive responses to potential issues.
One of the most compelling advantages of remote IoT monitoring is the enhanced security it provides. By integrating SSH into your remote IoT monitoring setup, you create a secure and reliable pathway to your devices, ensuring that data remains protected during remote sessions. SSH employs encrypted connections, safeguarding sensitive information from unauthorized access and cyber threats. This level of security is particularly vital in today's digital landscape, where data breaches and cyberattacks are constantly evolving.
However, remote monitoring is not limited to security; it also enhances operational efficiency. With remote access, technicians and engineers can diagnose and resolve issues without being physically present at the device's location. This translates to reduced downtime, lower maintenance costs, and faster response times. Moreover, the ability to collect and analyze data in real-time allows for proactive maintenance, predicting potential failures before they occur. This proactive approach can significantly extend the lifespan of your IoT devices and optimize their performance.
Before diving into the technical aspects, lets understand why SSH stands out as a preferred choice for remote IoT monitoring. Secure Shell (SSH) is a cryptographic network protocol that provides secure communication between devices over an unsecured network. Its designed to create a secure tunnel, encrypting all data transmitted between the client and the server. This encryption safeguards sensitive information such as login credentials, configuration settings, and data transmissions, minimizing the risk of eavesdropping or data interception.
Furthermore, SSH offers versatility and ease of use. Compatible with a wide array of operating systems and devices, including Raspberry Pi, Ubuntu, and Windows, SSH provides a flexible solution for remote access. You can establish a secure connection from your computer or even your smartphone to monitor and manage your devices. This flexibility allows for efficient network management, regardless of your location or the type of device.
The question then becomes, how do you implement SSH for remote IoT monitoring? We'll guide you through the steps, providing you with the tools and best practices for seamless setup. The following steps outline a practical approach to leveraging SSH for remote monitoring, ensuring secure and effective management of your IoT devices.
Step 1: Understanding the Prerequisites
Before diving into the technical steps, make sure you have the following prerequisites:
- A Raspberry Pi or an IoT device running a compatible operating system (e.g., Raspbian, Ubuntu).
- An active internet connection for your device.
- A computer (Mac, Windows, or Linux) with SSH client software (most operating systems have it pre-installed; if not, you can download tools like PuTTY).
- Basic knowledge of command-line interface (CLI).
Step 2: Enabling SSH on your Raspberry Pi (or IoT device)
- For Raspberry Pi: By default, SSH is disabled on recent versions of Raspberry Pi OS (formerly Raspbian). You need to enable it. Connect your Pi to a monitor, keyboard, and mouse or connect it to your local network. You can enable SSH through the Raspberry Pi configuration tool (raspi-config) or through the command line if you have a terminal.
- If you are using a headless setup (no monitor, keyboard, or mouse), you can enable SSH by placing an empty file named "ssh" (no file extension) in the boot partition of your SD card before the first boot.
Step 3: Setting up SSH Key-Based Authentication (Recommended)
Password-based authentication can be vulnerable to brute-force attacks. SSH key-based authentication significantly enhances security. Follow these steps:
- Generate an SSH Key Pair: On your computer, open a terminal and run the command:
ssh-keygen -t rsa -b 4096. This generates a private key (id_rsa) and a public key (id_rsa.pub). - Copy the Public Key to Your Raspberry Pi: Use the command:
ssh-copy-id [email protected]_your_raspberry_pi_ip_address. This copies your public key to the authorized_keys file on your Pi. - Test the Connection: Try to SSH into your Pi without a password:
ssh [email protected]_your_raspberry_pi_ip_address. If successful, you can disable password authentication in the SSH configuration file (sshd_config) for enhanced security.
Step 4: Configuring SSH for Enhanced Security
- Change the Default SSH Port: The default SSH port is 22. Changing this can reduce the risk of automated attacks. Edit the SSH configuration file (
/etc/ssh/sshd_config) and change the port number. - Disable Root Login: For added security, disable direct root login. If you need to perform actions as root, use sudo.
- Update and Upgrade: Keep your system and SSH software up to date by regularly updating and upgrading your OS.
Step 5: SSH Client Tools
To connect to your Raspberry Pi or other IoT devices remotely, you can use various SSH client tools. Some common options include:
- Command-Line Interface (CLI): The built-in SSH client is available on macOS, Linux, and through tools like PowerShell or Git Bash on Windows. This is often the quickest method.
- PuTTY (Windows): A popular, free SSH client for Windows. Download it from a trusted source and enter your Raspberry Pi's IP address, port, and user credentials to connect.
- Mobile Apps: There are many Android and iOS SSH client apps that allow you to access your devices from your smartphone or tablet.
Step 6: Remote Monitoring and Alerting
Once you have a secure SSH connection, you can use various tools and techniques for remote monitoring and alerting. Several options include:
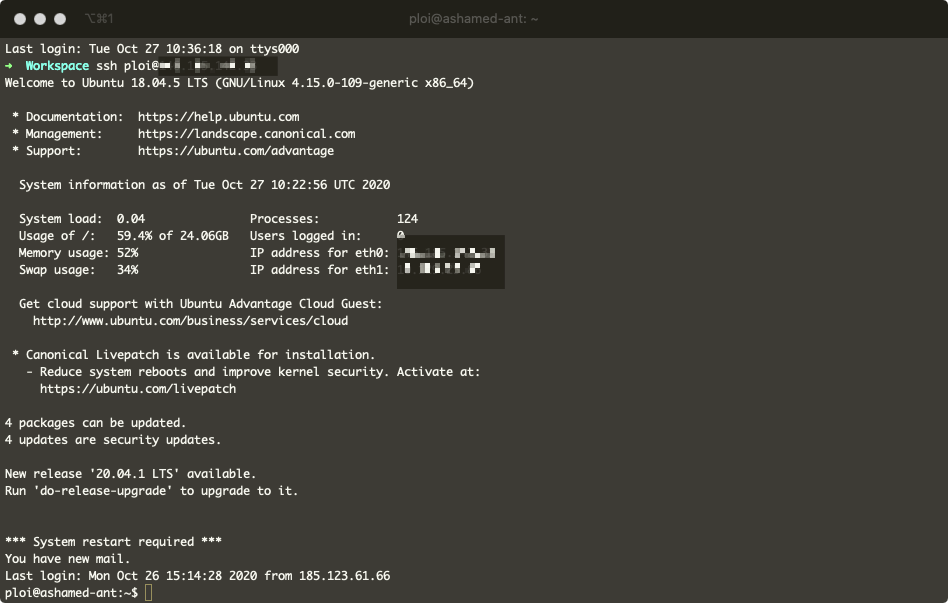
- System Monitoring Tools: Tools like
top,htop,df, andfreecan be used within your SSH session to monitor system resource usage (CPU, memory, disk space). - Log Analysis: Regularly check system logs (e.g.,
/var/log/syslog) to identify potential issues or security breaches. - Remote Monitoring Software: Consider implementing remote monitoring software (e.g., Nagios, Zabbix) to collect data from the devices and generate alerts when certain conditions are met. Many of these can be integrated with SSH for secure data transfer.
- Custom Scripts: Write custom scripts to collect specific data or trigger actions based on certain events. These can be run remotely via SSH.
Step 7: Firewall Configuration
If you have a firewall (which is highly recommended), ensure it's configured to allow SSH traffic. For example, if you changed the SSH port to 2222, configure your firewall to allow traffic on port 2222. This helps prevent unauthorized access while maintaining remote access capabilities.
Best Practices for Secure Remote IoT Monitoring with SSH
- Regular Updates: Keep your SSH software, operating system, and all other software up to date to patch security vulnerabilities.
- Strong Authentication: Always use SSH key-based authentication and disable password login.
- Monitor Logs: Regularly review SSH access logs to detect suspicious activity or potential security breaches.
- Use a Firewall: Configure a firewall to restrict access to the SSH port and other services.
- Change Default Settings: Change the default SSH port, disable root login, and consider using a non-standard username.
- Implement Network Segmentation: Isolate your IoT devices on a separate network segment to limit the impact of a security breach.
- Educate Users: Train all users on security best practices to prevent human errors that could compromise your system.
In conclusion, the integration of SSH for remote IoT monitoring opens up a new realm of possibilities for secure, efficient, and reliable device management. SSH offers unparalleled security, reliability, and flexibility, which makes it a preferred choice for professionals. By taking the necessary steps, tools, and best practices outlined in this guide, you can ensure a seamless and secure setup for managing your IoT devices. Whether you are a tech enthusiast, a small business owner, or an enterprise manager, mastering SSH for remote IoT monitoring is a valuable skill that enhances device management capabilities and ensures a proactive approach to your IoT infrastructure.
The adoption of IoT technology is accelerating, and the need for dependable remote monitoring and management solutions is critical. This guide has shown you how to set up and utilise SSH for remote IoT monitoring on a Raspberry Pi, and will give you the knowledge and tools to thrive in this sector. Use SSH to monitor IoT devices remotely, download it for Raspberry Pi, Ubuntu, and Windows, and benefit from the secure and encrypted connections that guarantee data safety throughout remote sessions. Remote IoT monitoring with SSH is revolutionising the way businesses manage their IoT devices securely from any location. Whether you're an engineer, a hobbyist, or just someone curious about how devices can be controlled from afar, this topic is worth diving into.